Hello everyone!
Welcome back to day three and quite possibly the most pointless nail tutorial ever! I understand that no one needs a tutorial for this but once I had done the five designs and then the colossal nail art blog post, it was only then that I realised this isn't really a design. Anyway here it is.
I bet you're glad you wasted your time reading that! I promise tomorrow's will be more interesting as I will be doing the Bunny design, it should be fun!
See you then,
Abi xxx
Welcome back to day three and quite possibly the most pointless nail tutorial ever! I understand that no one needs a tutorial for this but once I had done the five designs and then the colossal nail art blog post, it was only then that I realised this isn't really a design. Anyway here it is.
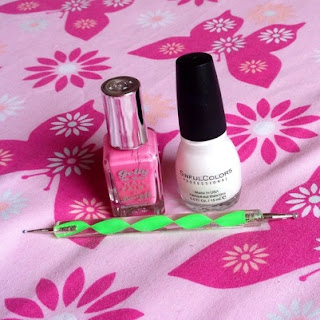
You will need:
Starting with a pink base, dip the large end of the dotting tool (or bobby pin) into the white and methodically place dots around the nail.
I like to start in the middle, creating dots evenly spaced apart and then either side, also evenly spaced apart.
You could use colours that link with the other designs or use more spring-like colours.
The smaller the dots, the daintier it looks, but with fun nail art designs like these Easter ones, I think larger dots work better.
But it's totally up to you!
See you then,
Abi xxx


No comments
Post a Comment