Hello everyone!
As promised here is the Chick nail art tutorial. It's simple and very cute, so give it a go!
Pop back tomorrow for the Daisies tutorial.
See you tomorrow,
Abi xxx
As promised here is the Chick nail art tutorial. It's simple and very cute, so give it a go!
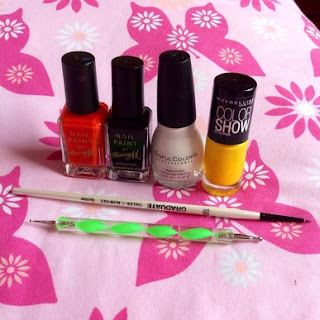
You will need:
Using the tiny paintbrush or a toothpick dipped in white, mark a zig zag across the bottom third of the nail and then fill in the bottom with the white.
Using the larger end of the dotting tool (or bobby pin) dip it into the black to dot two eyes, then clean the dotting tool and dip in into the orange. Press down and drag slightly across to make the beak.
Leave lots of time for it to dry if you want to top coat it, otherwise it might smear.
There you have it! Told you it was easy. Leave lots of time for it to dry if you want to top coat it, otherwise it might smear.
Pop back tomorrow for the Daisies tutorial.
See you tomorrow,
Abi xxx


No comments
Post a Comment